
You are using Azure and have managed to move some of your images to blob storage, that’s great, but you know what’s better? Using a Content Delivery Network (CDN) to improve the load speed and availability of your images. Azure’s CDN is there to help you with that.

Main disadvantage of using a content delivery network (CDN)
Cost and in some cases, it adds complexity as it is something else you have to setup and maintain.
Main advantage of using a CDN
An increase in the speed in wich static content like images are delivered to your users.
When to use a CDN?
When the cost is feasible and you have static content to serve (images, scripts, CSS, etc.).
Is a CDN a performance booster?
It is as it can decrease the number of nodes that a file has to go through to get to where the user is.
How do we setup a CDN in Azure?
Assuming that you already have images on blob storage, when you go to your Azure portal and browse to Storage Accounts > your blob you should see something similar to the screenshot below, with your own images instead of mine of course 😉
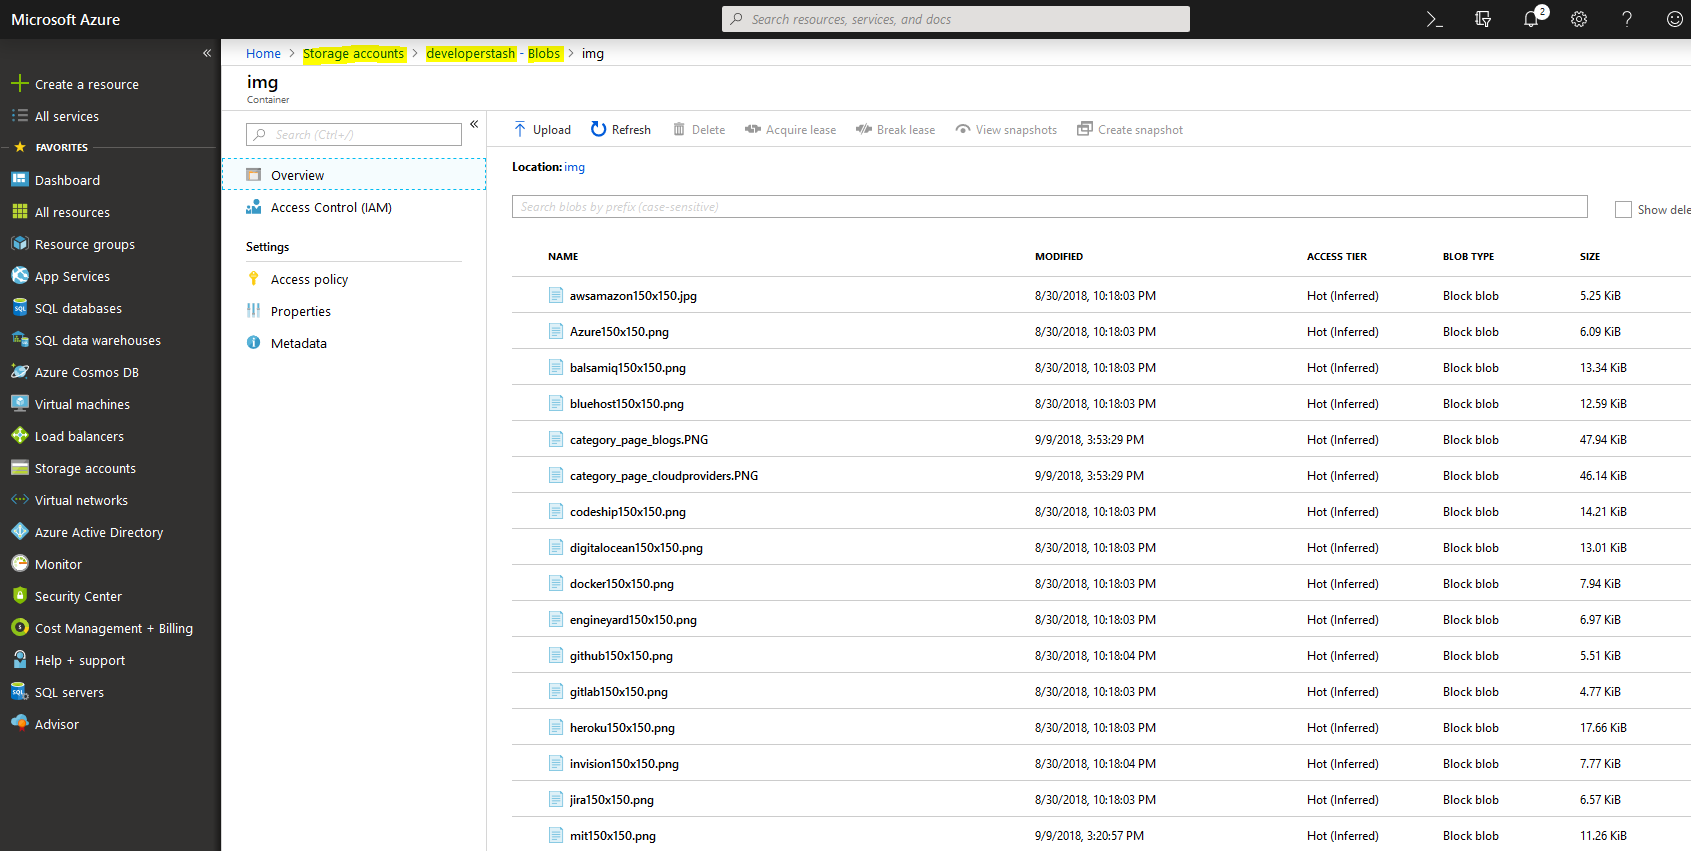
The step above is just to confirm that you have in fact, some images already in your blob storage. Adding the CDN on top of it is simple, and it will help your images load faster than ever before, promise.
Go to Storage Accounts, select your storage account (in my case I choose the one labeled developerstash) and then click on Azure CDN as shown below:

After you click on Azure CDN, you’ll add the following values needed to create a new endpoint to your new CDN.
CDN Profile name: I often use the same name as the CDN endpoint name, but you can type whatever you want.
Pricing tier: There are four options available, for this example, I choose Standard Microsoft – Preview since this is the most economical option as of now.
CDN endpoint name: An endpoint is a URL that you’ll use to access your images through CDN.
Origin hostname: This should be filled in already with the location of your blob storage, do not change it unless you want to pull images to the CDN for a different blob storage account.

After you click Create, it takes a few minutes until your new CDN endpoint is ready to be used.
To access these images using the CDN endpoint just append the blob storage directory and the file name you want to view. For example, below are two links that point to the same image, one using the blob URL and the other one the CDN URL:
Blob: https://developerstash.blob.core.windows.net/img/Azure150x150.png
CDN: https://cdndeveloperstash.azureedge.net/img/Azure150x150.png
Important: It can take at least an hour until the content is being populated, during that time the CDN return 404.
Happy coding!


Leave a Reply