It’s been a while since I had to build a NuGet package, a long while. While as a developer I use multiple NuGet packages all the time in my applications, I think I’ve created only a few of my own. Needless to say, I am a total noob when it comes to building AND publishing NuGet packages.
So the other day the need to do this presented itself, and while building a Nuget package isn’t difficult at all, that said, there are times when you need to do something that isn’t as basic as the multiple examples given on StackOverflow or Microsoft Docs. This was one of those times, I needed to create a NuGet package that will contain just one public method, but to run correctly, it required references to multiple project dependencies.
As I was doing this, I also run into other errors that perhaps someone with experience building NuGet packages wouldn’t ever run into as my problem was that I didn’t know about specific options that you need to include when creating your NuGet package. This is a small post about those two essential command options, and hopefully, when you run into a similar problem, this works as a solution for you too.
If you don’t have the nuget.exe in your computer yet, you can download the latest version from here.
TL;DR;
- Open a command window and browse to where your project file is.
- nuget spec
- nuget pack -Prop Configuration=Release -IncludeReferencedProjects
Steps to build a NuGet package from a project
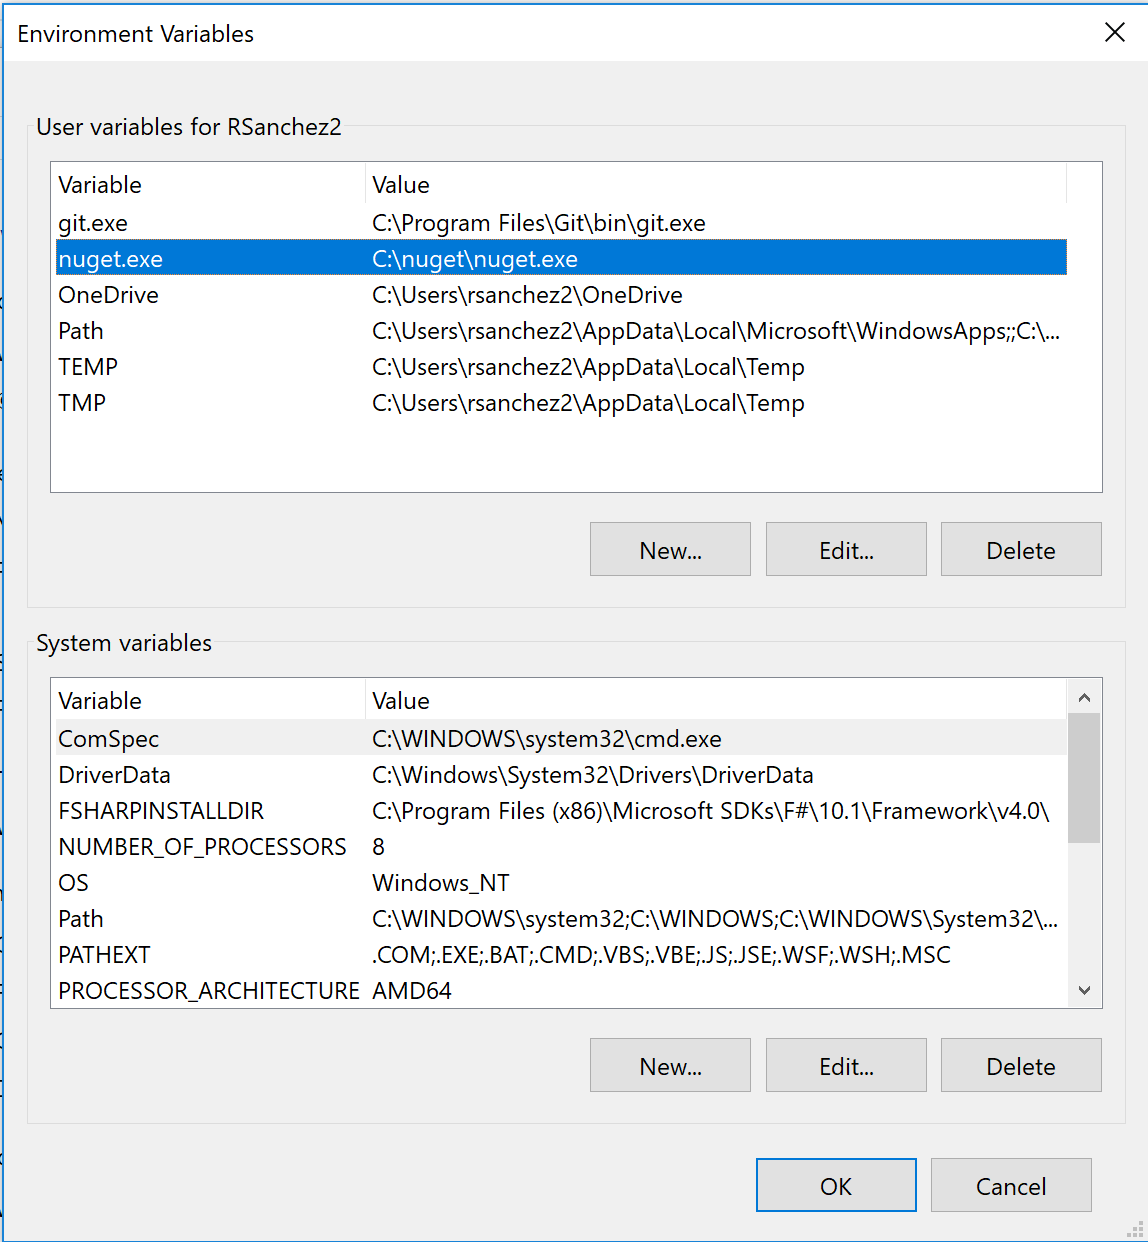
- Add nuget.exe. to a system variable path if you don’t have it there already. If you don’t have it, find the location of nuget.exe in your computer (I’ve installed it under c:nugetnuget.exe for simplicity and easy access), open the advanced system settings window, and then click on Environment Variables and add the variable there as shown below:
- Open a command window and browse to the location of your project file (yourproject.csproj). Once you are there, type the following command to create a .nuspec file which is a manifest containing all the details of your NuGet package. If you run the following command in the same directory where your project file lives, then some of the information would be already populated with the values located in your project’s assembly file.
nuget spec
This will generate a .nuspec file that should look like this:
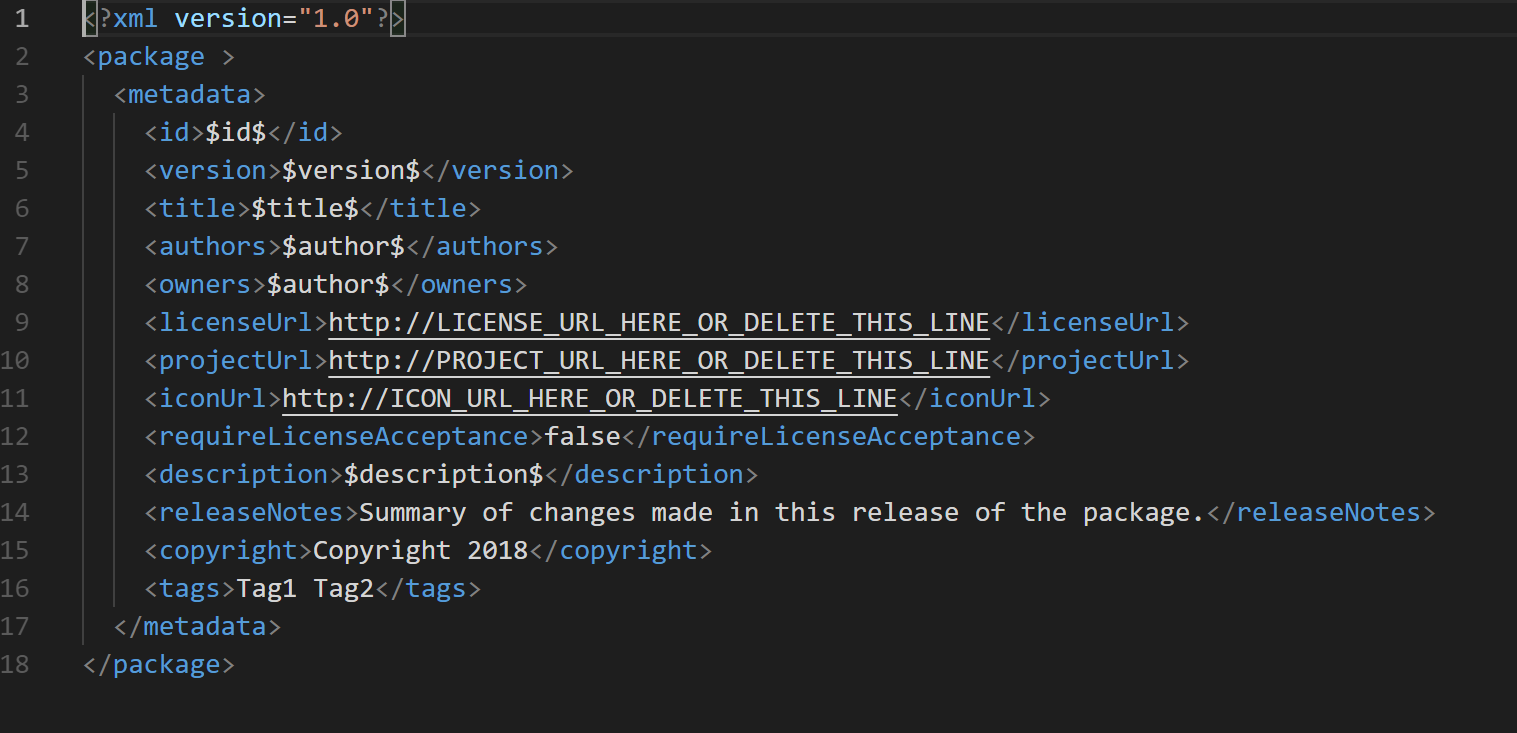
Feel free to change the values directly in this file but remember that some of them are tokens which will pull values from your project’s assembly file. For details on what each one of these properties is read this. - Finally, it’s time to create the .nupkg file. This is the NuGet package that you’ll publish to your internal package source or to nuget.org if this is a public NuGet package you want to share. This is the command where I initially didn’t add any options and run into the issue where the referenced project dependencies weren’t included, and it also was failing because it didn’t find the dlls it needed under the debug directory as I didn’t indicate to use the release directory instead.
nuget pack -Prop Configuration=Release -IncludeReferencedProjects
The option -Prop allows you to specify the Configuration you want to use when building the .nupkg file. The option -IncludeReferencedProjects does include all the referenced project dependencies to the .nupkg file.
That’s it, folks, I hope this is useful for those of you looking into building a NuGet package and have the need to include the referenced project dependencies. I’m aware that there are many Visual Studio extensions and other NuGet packages that are supposed to make this process simpler, but most of them if not all, include making further changes to your project and add additional dependencies and that is something that I always try to avoid when possible.
Happy coding!