This is a great time to get into photography. High-quality cameras are now accessible to most people, and getting an awesome shot is now more possible than ever. Let’s keep in mind that while easier, there is still skill and experience needed to get the most out of your camera.
In this post, I’ll describe two things you need to know to learn the basics of photography and take it to the next level; composition and exposure. If you are already an experienced photographer, then you can skip this blog post, and I hope you come back at another time.
Basics of Photography
In photography, you need to learn about composition and exposure to capture great photographs. At its most basic level, composition is the framing of the image and the composition of the subject/s within the frame of a photograph. Exposure refers to the amount of light allowed into the camera. Exposure is divided into three important items: Aperture, Shutter Speed, and ISO.
Composition
Composition is all about the way you want the visual elements in your picture to appear. Composition is subjective and there is no a single way to get it right, you have to feel it, and the best way to get better at it is to practice. However, there are some techniques you can follow to help you make your pictures better.
Look at the subject from different angles, pay attention to the light, shadows, and don’t shy away from getting down on close to the ground to get a different perspective.
Fill the frame. This isn’t always necessary but in some photographs, you want your subject to fill the frame, you want a tighter shot.
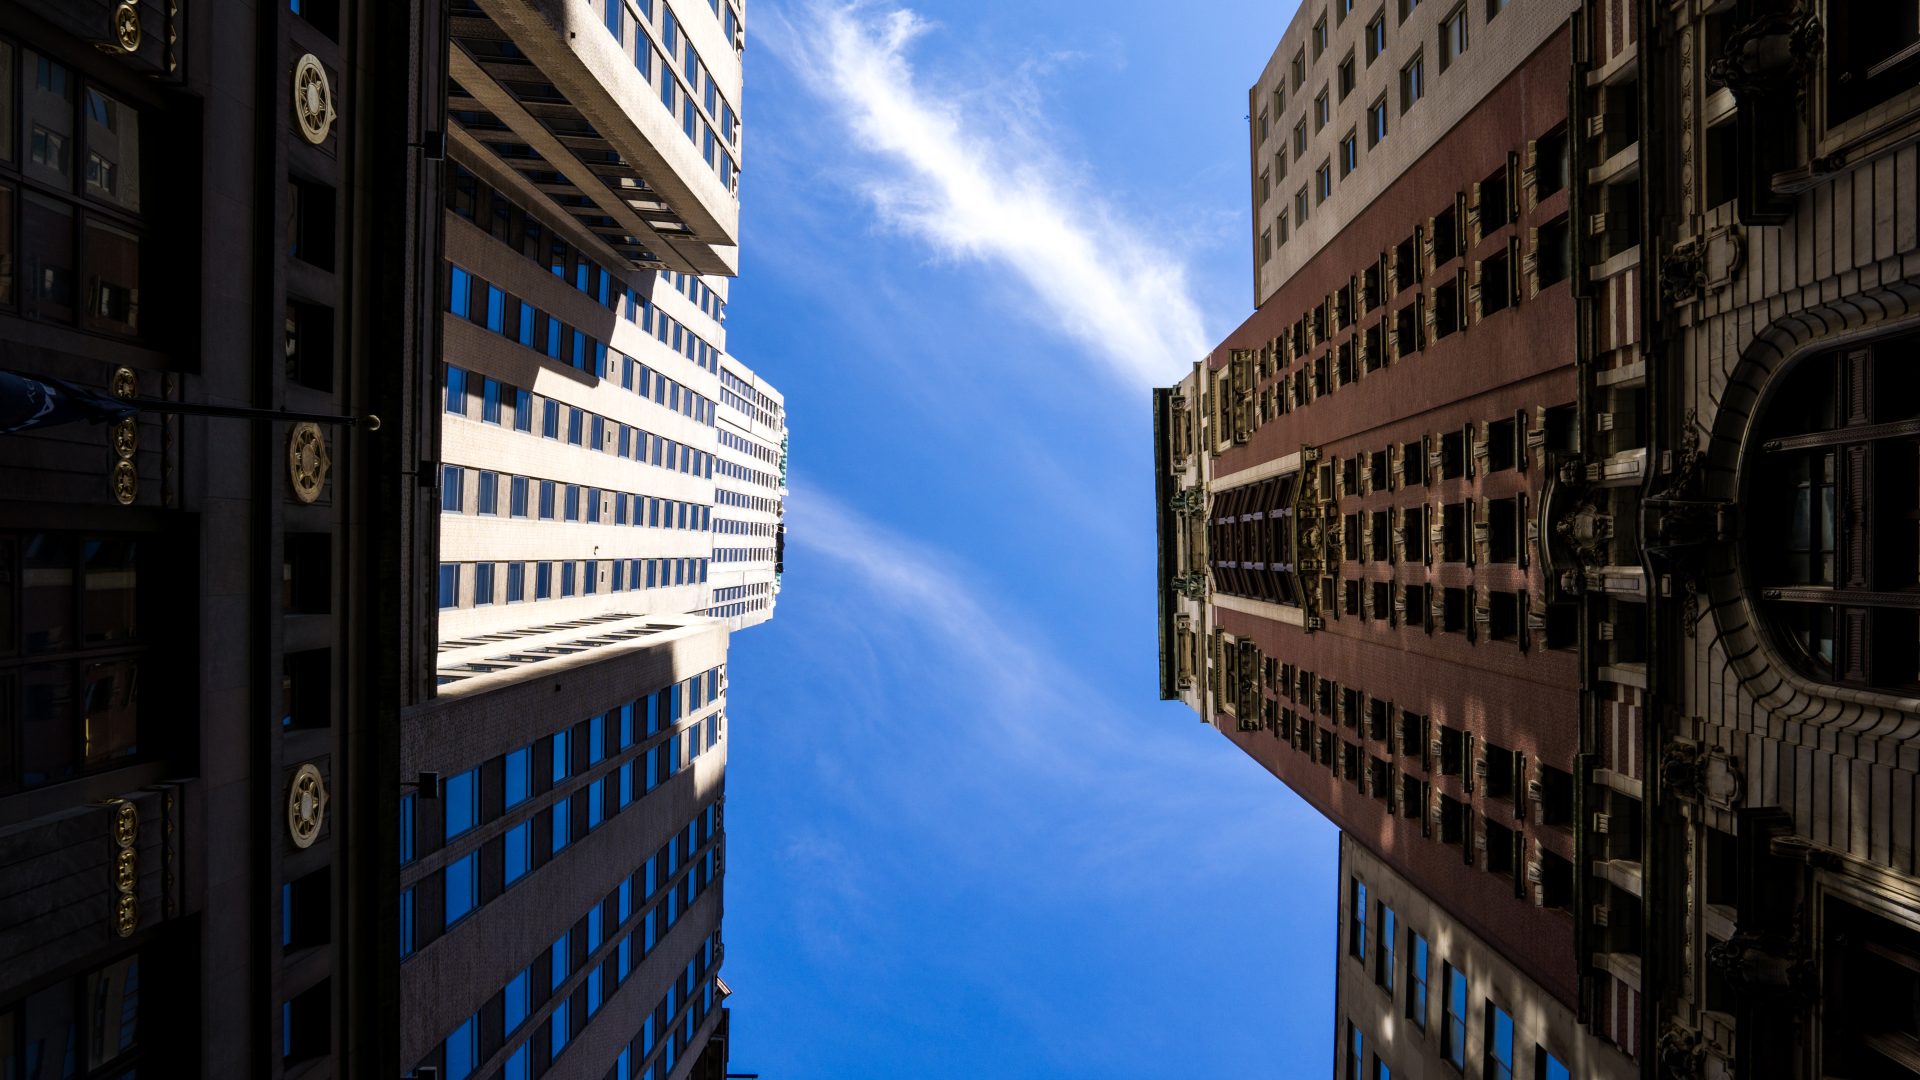
Use leading lines to give your composition more structure. Leading lines help draw people to key elements in your picture. Train tracks, branches, roads, cracks in a wall, etc. All you need is one line that will capture the viewer’s attention and draw their eyes to the main element in your image.
Frame elements in your photo. It helps bring focus to an area, especially helpful in a busy photo. You can use doors, windows, and other openings to bring attention to a particular part of your composition.
There are other more technical parts of composition, such as symmetry, the rule of thirds, visual weight but I will not get into those in this blog post. If you are interested, leave your email here and I will let you know when a detailed professional photography fundamentals guide is available.
Exposure
Exposure is the amount of light per unit area reaching an electronic image sensor, as determined by shutter speed. There are three main ingredients to good exposure: Aperture, Shutter Speed, and ISO. If you think of exposure as a “triangle”, imagine each side of it as — aperture, shutter speed, and ISO. You need the right combination of these 3 components to have the perfect exposure.
Aperture
Simply put, you can think of aperture as a hole within a lens, through which light travels into the camera body. If you compare your eyes to your camera, aperture could translate to how wide you open your eyes. In photography, aperture is expressed in f-numbers (such as f/4). These f-numbers known as “f-stops” are a way of describing the size of the aperture, or how open or closed the aperture is.
A smaller f-stop means a larger aperture or opening your eyes wide, while a larger f-stop means a smaller aperture. This can be confusing as most people think of larger numbers to represent larger values, but in the case of aperture, it is the opposite. For example, f/1.4 is larger than f/4 and f/22 is like squinting.
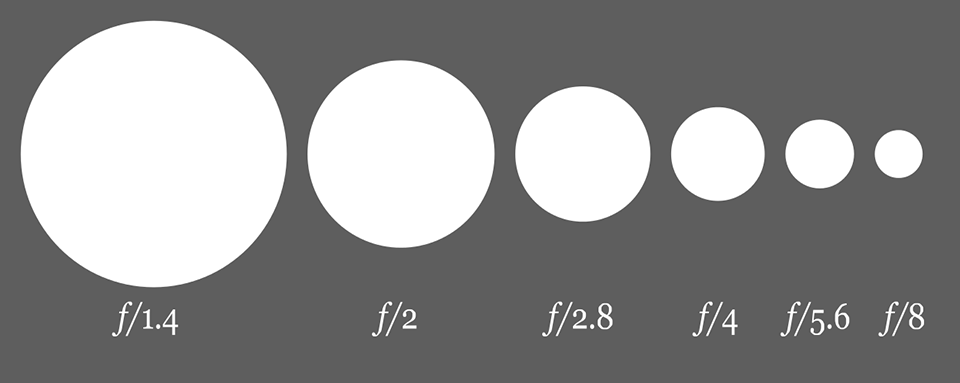
Shutter Speed
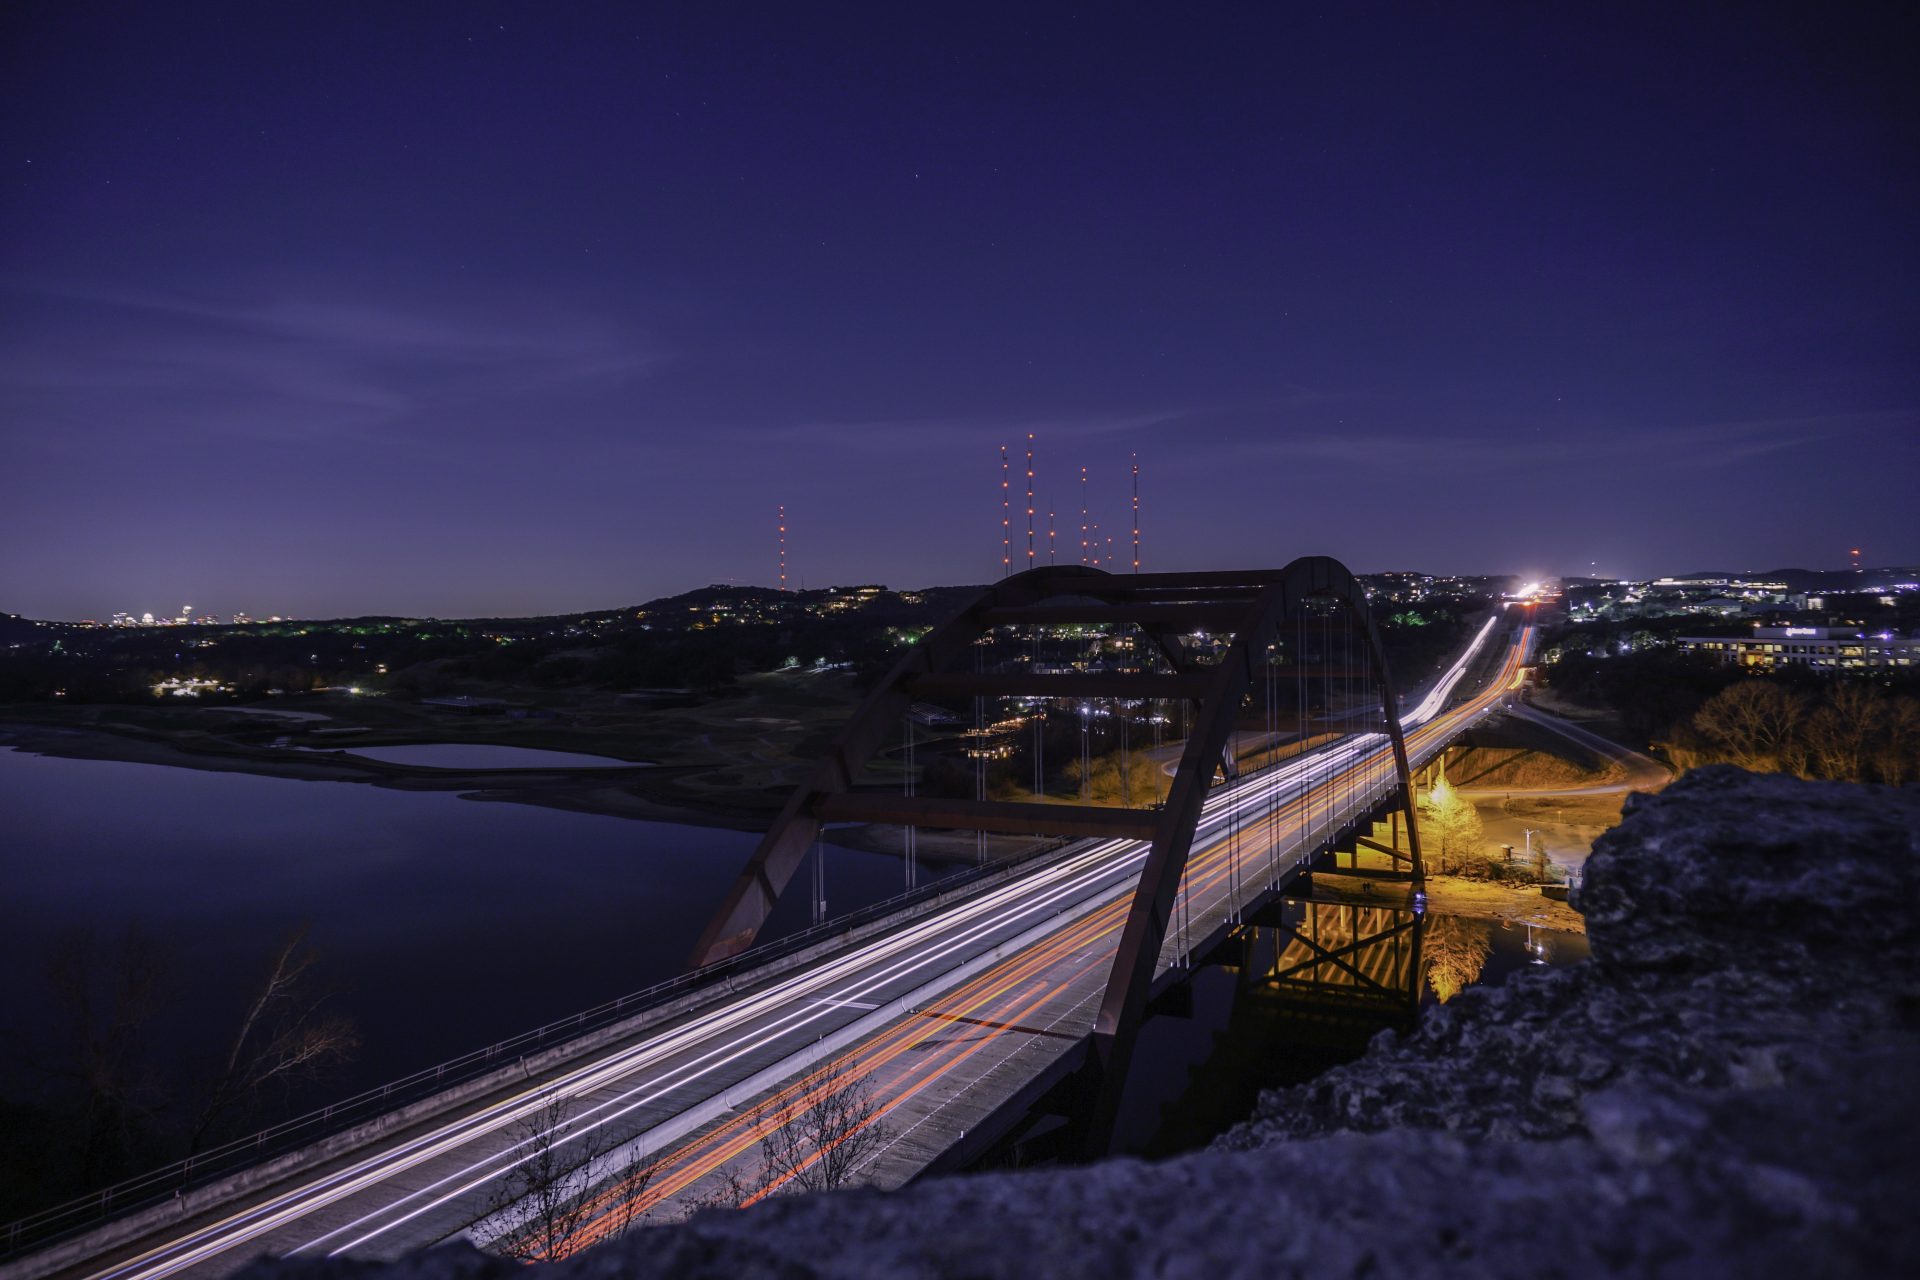
Shutter speed, also known as “exposure time”, stands for the length of time a camera shutter is open to expose light into the camera sensor. If you compare your eyes to a camera, then shutter speed is comparable to how long you open your eyes. A fast shutter, like 1/1000th of a second, is blinking super fast. A slow shutter speed, like 15 seconds, is keeping your eyes open and then blinking. The effect that this has on a camera is amazing. For example, if you are shooting a waterfall and use a fast shutter setting, the image of the water will be sharp. However, if you use a long shutter speed, the image of the water will be very silky, it will look more like fog than water. A long shutter speed is also the way to capture light trails as shown below.
ISO
In basic terms, ISO is the level of sensitivity your camera has to available light. The lower the ISO number, the less sensitive it is to the light, while a higher ISO number increases the sensitivity of your camera. In general, you want to keep the ISO number as low as possible, 100 – 200 ISO. A higher ISO comes in handy in low light conditions, it can help you get a bright photo without the need of flash. But higher sensitivity (ISO) comes at a high price – it adds grain or “noise” to the photographs.

Conclusion
Photography doesn’t have to be hard, in my opinion, it is about having fun and experiment with the various settings available in your camera, the world around you, and different angles. However, learning as much as you can about basics of photography like composition and exposure (aperture, shutter speed, ISO) is essential to capture great moments and move your photography to the next level.
Now get out there and capture the world!
I am writing a guide titled “handy-dandy guide to take better photographs”, leave your email here if you want to be notified when ready and to get early access to it.